


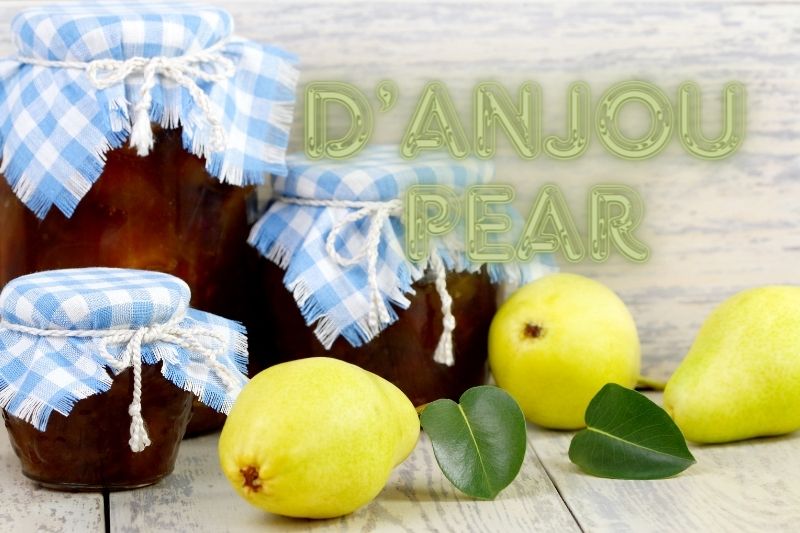
If you’re looking to capture the essence of fall in a jar, look no further than homemade D’Anjou pear jam.
With its delicate sweetness and rich texture, this jam is perfect for spreading on toast, drizzling over pancakes, or even pairing with cheese for a sophisticated snack.
Making your own jam might seem daunting, but with the right guidance, it’s a rewarding and enjoyable process.
This step-by-step guide will walk you through everything you need to know, from selecting the best pears to sealing the jars for long-lasting freshness:
Ingredients
- 4 cups of chopped D’Anjou pears (about 6-8 pears)
- 2 cups of granulated sugar
- 1 tablespoon of lemon juice
- 1 teaspoon of ground cinnamon (optional)
- 1 packet of pectin (if desired for a firmer jam)
- 1/4 cup of water
- Equipment:
- Large pot
- Canning jars with lids
- Canning funnel (optional)
- Ladle
- Potato masher or immersion blender
- Candy thermometer
- Clean cloth or paper towels
Instructions
Prepare the Pears
Wash the D’Anjou pears thoroughly.
Peel, core, and chop the pears into small pieces. Aim for uniform pieces to ensure even cooking.
Cook the Pears
Place the chopped pears in a large pot.
Add the 1/4 cup of water to the pot to prevent the pears from sticking to the bottom.
Cook over medium heat, stirring occasionally until the pears start to soften (about 10-15 minutes).
Mash or Blend
Use a potato masher to crush the pears to your desired consistency. For a smoother jam, use an immersion blender.
Add Sugar and Lemon Juice
Add the 2 cups of granulated sugar and 1 tablespoon of lemon juice to the pot.
Stir the mixture well to ensure the sugar dissolves completely.
Cook the Jam
Bring the mixture to a boil over medium-high heat, stirring frequently.
Once boiling, reduce the heat and let it simmer. Use a candy thermometer to monitor the temperature. The jam should reach 220°F (104°C) for proper gelling.
If using, add the ground cinnamon at this stage.
Test for Doneness
To check if the jam is ready, place a small amount on a chilled plate and let it sit for a minute. If it wrinkles when pushed with your finger, it’s done. If not, continue cooking and test again after a few minutes.
Prepare the Jars
While the jam is cooking, sterilize your canning jars and lids by boiling them in water for 10 minutes. Keep them hot until ready to use.
Fill the Jars
Once the jam has reached the desired consistency, remove it from the heat.
Using a canning funnel and ladle, carefully fill the hot jars with the jam, leaving about 1/4 inch of headspace at the top.
Wipe the rims of the jars with a clean cloth or paper towel to remove any residue.
Seal the Jars
Place the lids on the jars and screw on the bands until fingertip tight.
Process the jars in a boiling water bath for 10 minutes to ensure a proper seal.
Cool and Store
Remove the jars from the water bath and let them cool completely on a towel or cooling rack.
Check the seals after 24 hours. The lids should not flex up and down when pressed.
Label the jars with the date and store them in a cool, dark place. Properly sealed jars can last up to a year.